Thing 1- The Basics
As I begin the journey of learning 21 new ideas and resources for implementing technology into my classroom, I thought it was extremely interesting to take the "technology quiz" and see areas that I am strong at, and areas where I am very unfamiliar with the technology tools. After taking the quiz, I was surprised at how little of the technology terms and shortcuts that I was actually familiar with. It opened my eyes to the large variety of tools and resources that I had never used or experienced.
With this first 'Thing' I learn a lot of the basic keyboard shortcuts and technological routines that can make teaching much more efficient and effective. I learned how to take screenshots on both a Mac laptop and a Windows laptop, which is the type of laptop I prefer to use. I have taken screenshot for other assignments and projects before, but I was unaware of other resources that would allow me to create images of different parts of my screen. Thing one introduced me to two new programs that I downloaded onto my laptop, Jing and ZoomIt. Both of these programs will be fantastic to use in my classroom. Jing allows you to create a new image from an item that appears on your screen, such as a photo or a graph off of a website or other window that you have open. With that image, you can upload it to a Jing portfolio that saves it and allows you to use it, save it for later, and share it with others. Jing also allows you to create videos using the images that you capture and create. These videos allow you to create helpful instructional videos or a step-by-step video that explains process. This image shows Jing in action. The white box that shows color is the picture that I wished to capture, and then it allows me to save the image in the Jing portfolio that is always located in the yellow icon at the top center of my laptop screen.
With this first 'Thing' I learn a lot of the basic keyboard shortcuts and technological routines that can make teaching much more efficient and effective. I learned how to take screenshots on both a Mac laptop and a Windows laptop, which is the type of laptop I prefer to use. I have taken screenshot for other assignments and projects before, but I was unaware of other resources that would allow me to create images of different parts of my screen. Thing one introduced me to two new programs that I downloaded onto my laptop, Jing and ZoomIt. Both of these programs will be fantastic to use in my classroom. Jing allows you to create a new image from an item that appears on your screen, such as a photo or a graph off of a website or other window that you have open. With that image, you can upload it to a Jing portfolio that saves it and allows you to use it, save it for later, and share it with others. Jing also allows you to create videos using the images that you capture and create. These videos allow you to create helpful instructional videos or a step-by-step video that explains process. This image shows Jing in action. The white box that shows color is the picture that I wished to capture, and then it allows me to save the image in the Jing portfolio that is always located in the yellow icon at the top center of my laptop screen.
|
|
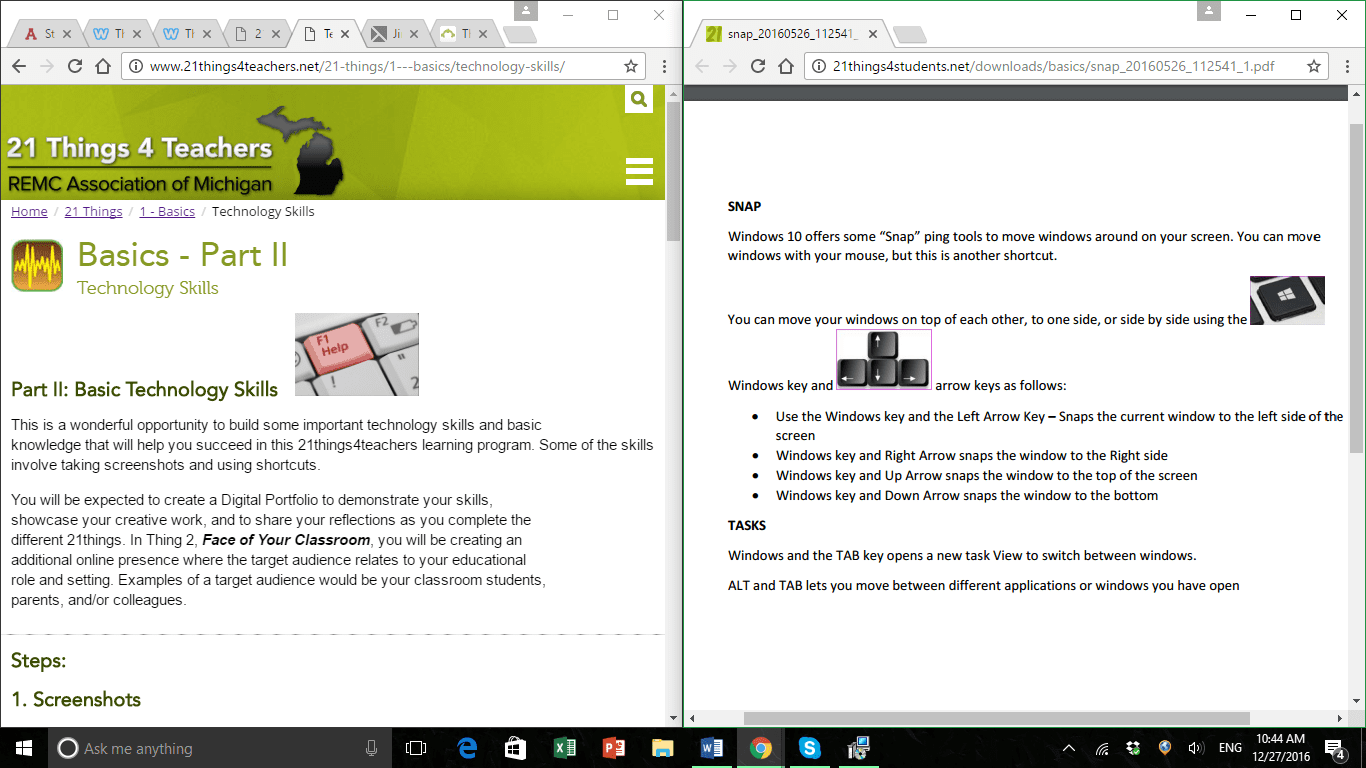
This is a picture of my the 21 Things website and instructions that taught me how to move different windows to different parts of my screen in order to split the screen in more than one way. I was able to get this image by taking a screenshot. The instructions and tutorials on the 21 Things website are so beneficial and I was able to practice all of the new techniques on my own screen. Once I learned about them, these tools and shortcuts were easy to do and I was able to show my mom how to take a screenshot using the keyboard as well as the Jing tool. She was very impressed and surprised at how easy the process could be to save an image.
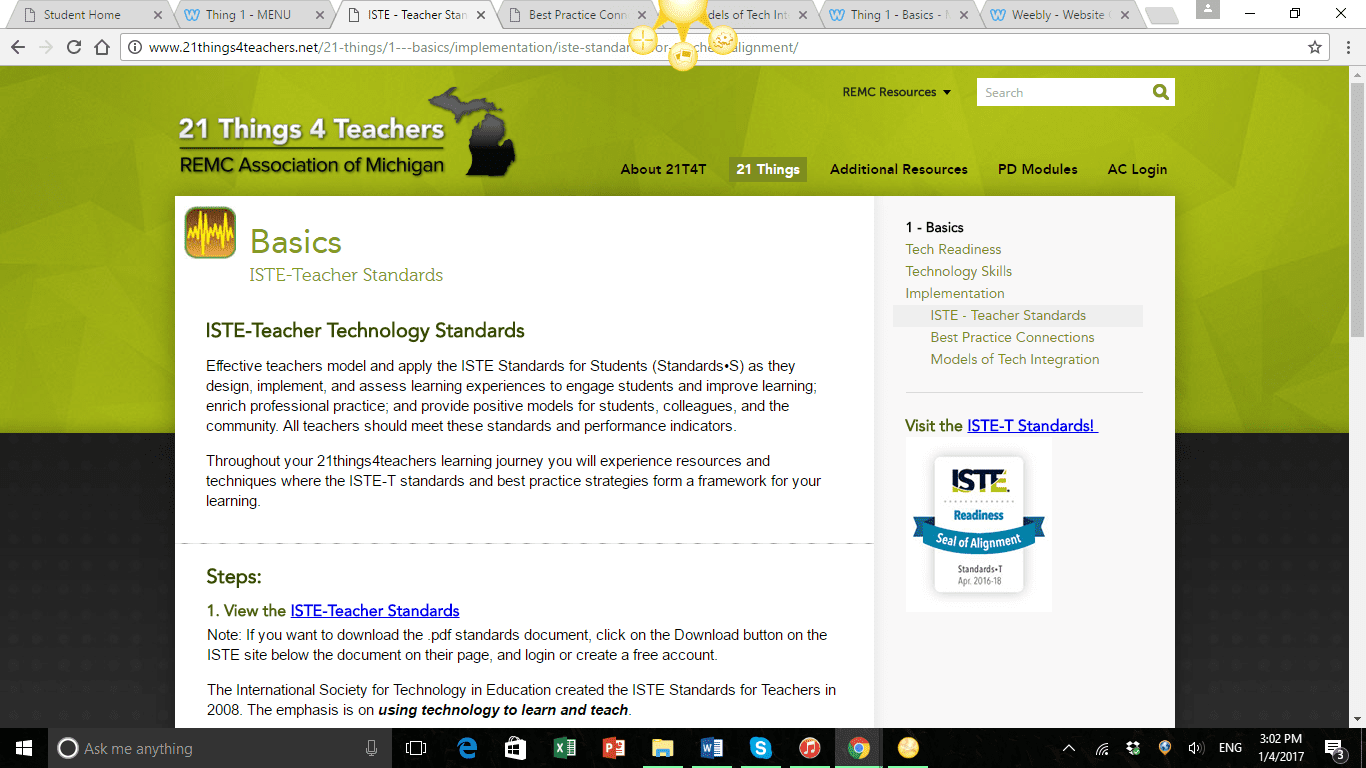
I also learned about the five different ISTE-T tools for becoming a better teacher in a more digital and technology dependent age. ISTE stands for International Society for Technology in Education and there are five main points for teachers to remember when integrating technology into their class. The five key points are:
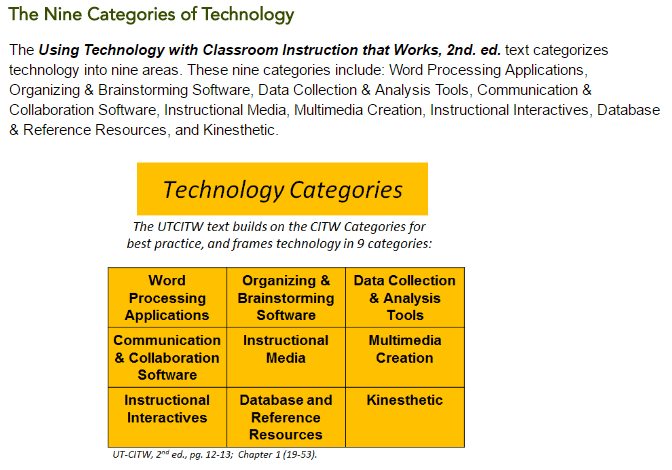
There are also nine research-based strategies for best teaching practices and nine different categories of technology that can be in a classroom.
- Facilitate and Inspire Student Learning and Creativity
- Design and Develop Digital-Age Learning Experiences and Assessment
- Model Digital-Age Work and Learning
- Promote and Model Digital Citizenship and Responsibility
- Engage in Professional Growth and Leadership
There are also nine research-based strategies for best teaching practices and nine different categories of technology that can be in a classroom.

|
|
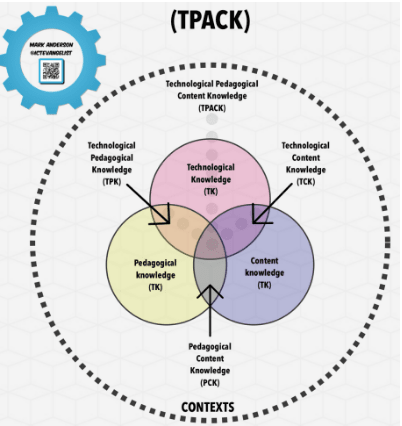
The TPACK framework is a guide that tries to capture some of the essential qualities of knowledge required by teachers for integrating technology in their teaching, while accounting for the complex nature of teacher knowledge, or pedagogy. At the heart of the TPACK framework, is three primary forms of knowledge: Content (CK), Pedagogy (PK), and Technology (TK). The SAMR framework is a model that is designed to help educators integrate technology into teaching and learning. It was developed originally with aims to enable teachers to design, develop, and integrate digital learning experiences in their classrooms as well as help utilize technology to transform learning experiences and reach higher levels of student achievement.
|

|
